
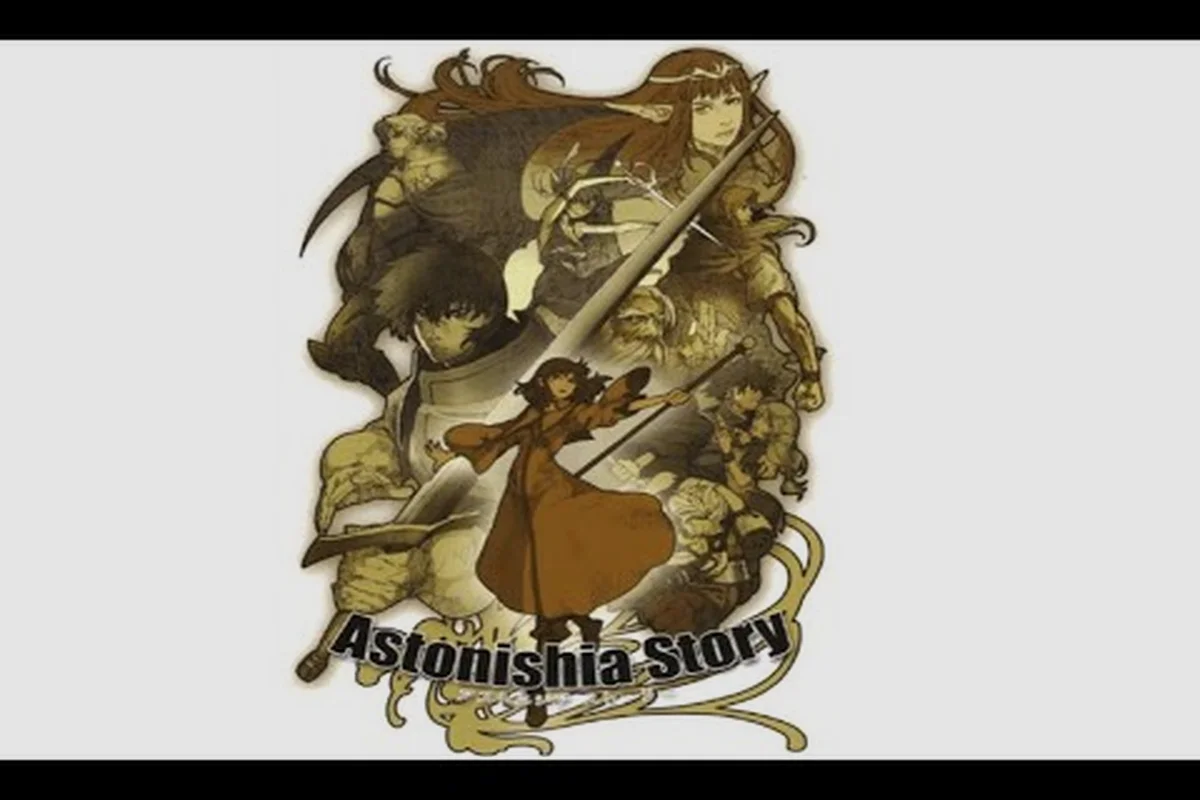
The Astonishia Story defense guide you need starts with one truth: in a grid-based tactical RPG where every turn can swing a fight, surviving long enough to win matters more than raw offense. Defensive play in Astonishia Story revolves around three pillars — armor, status effects, and healing — and the mercenary who understands all three will outlast enemies who simply stack attack power. According to the official Astonishia Story Steam page, the remake's combat system is built around "Grid-Based Gambits" where every unit occupies a tile and positioning directly shapes who lives and who falls. This guide breaks down the defensive toolkit so your party can absorb punishment, strip enemy advantages, and keep the front line standing through the longest encounters.
How Defense Works in Astonishia Story's Grid System
Defense in Astonishia Story is not a single number — it is a layered system built from physical armor, magical resistance, temporary shields, and reactive abilities. Every character on the grid has a base defense stat that scales with their class, but the deeper mechanics come from how armor interacts with the damage formula and how positioning can either amplify or nullify incoming hits.
The Damage Formula and Armor Tiers
Armor reduces physical damage before it reaches a unit's HP pool. The game uses a percentage-based mitigation system, meaning armor value is compared against incoming attack power to determine how much damage is actually absorbed. A unit wearing light leather may shrug off a goblin's slash, but the same armor will barely dent a heavily armed knight's overhead swing.
| Armor Tier | Defense Range | Damage Reduction vs Equal-Level Attack | Best Use Case |
|---|---|---|---|
| Cloth | 1–8 | 5–12% | Casters, ranged support |
| Leather | 9–18 | 15–25% | Scouts, midline skirmishers |
| Chain | 19–32 | 28–40% | Frontline fighters, tanks |
| Plate | 33–50 | 42–55% | Boss-killing anchors, choke holders |
| Mythril | 51+ | 58–70% | Late-game carries, elite mercs |
The key insight is that armor mitigates a percentage of damage, not a flat amount, so a high-defense unit still takes meaningful chip damage if the enemy's attack stat is inflated. This is why healing items and shields become critical supplements rather than optional luxuries.
Positional Defense Bonuses
Because Astonishia Story uses a square grid, where your unit stands directly affects how much punishment it absorbs. Flanking a target bypasses a portion of the defender's armor, while units standing on elevated terrain or behind allied blockers receive passive damage reduction. According to community data reported by players on the Steam forums, units flanked from two sides can take up to 25% more damage, which makes formation discipline a defensive skill in its own right.
Astonishia Story Armor Mechanics Deep Dive
Armor in Astonishia Story is more than a stat number — it has durability, resistances, and special properties that change how a fight unfolds. Understanding these armor mechanics separates a party that merely survives from one that controls the tempo of every encounter.
Armor Durability and Degradation
Heavy armor does not last forever. Every time a unit takes a hit, the armor's durability ticks down, and once it reaches zero, the base defense stat drops by roughly half until the armor is repaired. This degradation system forces players to rotate frontliners or carry repair consumables into longer dungeons.
| Armor Type | Base Durability | Defense Loss at 0 Durability | Repair Cost Tier |
|---|---|---|---|
| Cloth | 20 | -75% | Trivial (vendor) |
| Leather | 40 | -50% | Low |
| Chain | 70 | -40% | Moderate |
| Plate | 100 | -30% | High |
| Mythril | 150 | -20% | Rare materials required |
Because plate and mythril degrade more gracefully, they remain viable even after taking heavy punishment, while cloth armor basically disintegrates the moment durability runs out. Players who want to maximize their front line's lifespan should pair heavy armor with a secondary buffer or healer who can keep durability from bottoming out during boss phases.
Elemental Resistance Layers
Beyond physical armor, every piece of gear contributes elemental resistance values. A unit facing fire-based casters needs fire resistance, and against ice-based grids, cold resistance becomes the difference between holding a choke point and being frozen solid for a full turn.
| Resistance Type | Common Enemy Source | Effective Threshold | Stack Cap |
|---|---|---|---|
| Fire | Red mages, drakes | 40+ for immunity | 75 |
| Ice | Frost witches, yetis | 35+ for heavy resist | 75 |
| Lightning | Storm elementals | 30+ for heavy resist | 75 |
| Holy | Temple knights, liches | 45+ for immunity | 80 |
| Dark | Shadow casters, wraiths | 50+ for immunity | 80 |
Stacking past 75% in any single resistance is wasteful, so diversifying your party's elemental coverage is smarter than funneling every defensive item into one resistance type. The Astonishia Story items guide covers which pieces of gear carry the best dual-resistance rolls, which matters when the game throws mixed-element enemies at your squad.
Astonishia Story Status Effects, Buffs, and Debuffs
Status effects are the hidden currency of Astonishia Story's combat. A well-timed buff can double a tank's effective health pool, while a single overlooked debuff can collapse an otherwise solid formation in two turns. The status system splits cleanly into buffs (positive effects applied to your party) and debuffs (negative effects applied to enemies or suffered by your units).
Buff Categories and Stacking Rules
Buffs come in three families: stat buffs (raising attack, defense, or speed), shield buffs (absorbing a fixed amount of damage before breaking), and regeneration buffs (restoring HP or MP each turn). Each buff has a duration measured in turns and a stack cap that prevents infinite scaling.
| Buff Type | Example Effect | Duration | Stack Cap | Synergy |
|---|---|---|---|---|
| Defense Up | +15% mitigation per stack | 3 turns | 3 stacks | Pairs with shields |
| Magic Shield | Absorbs 50 damage | Until broken | 2 stacks | Stops caster bursts |
| Regen | +8 HP/turn | 4 turns | 1 stack | Combines with healing items |
| Haste | +2 movement range | 2 turns | 1 stack | Enables repositioning |
| Taunt | Forces enemy targeting | 3 turns | 1 stack | Protects squishies |
The Astonishia Story buffs guide mindset is to layer defensive buffs before engaging tough enemies. Casting a Defense Up buff followed by a Magic Shield on the same unit creates a damage sponge that can absorb a full boss rotation without dropping, which is critical during phases where healing is on cooldown.
Debuff Categories and Counters
Debuffs target the enemy side, weakening their offense or locking down their actions. The Astonishia Story debuffs guide approach is to identify the most dangerous enemy ability each round and apply the matching debuff one turn before it fires.
| Debuff Type | Effect | Best Target | Counterplay |
|---|---|---|---|
| Attack Down | -20% damage per stack | Boss-tier enemies | Dispel, Cleansing |
| Slow | -2 movement, -10% hit rate | Fast skirmishers | Immunity from gear |
| Silence | Blocks caster abilities | Mages, summoners | Remove with Purify |
| Armor Break | -30% defense for 3 turns | Heavy tanks | Dispel on self |
| Blind | -40% accuracy | Ranged enemies | Auto-clears next turn |
Players who ignore the debuff side of the status system will find their frontline melting even with high armor values, because an Armor Break debuff essentially removes half of a plate wearer's mitigation. A dedicated support mercenary who can cycle Silence and Attack Down rotations is often more valuable than a second damage dealer.
Astonishia Story Healing Guide and Survival Priorities
Healing in Astonishia Story is a resource economy problem, not just a spell-slinging exercise. Potions, spells, and regen effects all draw from limited pools, and knowing when to spend versus when to let a unit take chip damage is the difference between a party that clears Act 3 and one that wipes at the second boss checkpoint.
Healing Source Comparison
Different healing sources have different efficiency profiles. Spells are powerful but cost MP, consumables are stackable but expensive at vendors, and regen effects are slow but free over time. The Astonishia Story consumables guide breaks down which healing items give the best gold-per-HP ratio, which matters for long dungeon crawls where vendor access is limited.
| Healing Source | Average Heal | Cost per Use | Best Situation |
|---|---|---|---|
| Cure Light (spell) | 25–35 HP | 8 MP | Mid-combat patching |
| Cure Serious (spell) | 60–80 HP | 22 MP | Emergency clutch |
| Healing Potion | 50 HP | 80 gold | Pre-fight stockpiling |
| Hi-Potion | 120 HP | 250 gold | Boss preparation |
| Regen Aura | 8 HP/turn | 15 MP upfront | Sustained fights |
| Inn / Rest | Full HP/MP | Free or paid | Between encounters |
The Astonishia Story healing guide priority is to stockpile Hi-Potions before boss fights, use Cure Serious only when a unit drops below 30% HP, and lean on Regen Auras during trash pulls where the damage is gradual. Burning through your MP pool on every minor engagement leaves you empty-handed when the real threats appear.
When Not to Heal
Counterintuitively, the most defensive decision in many fights is to skip healing entirely. If an enemy is one attack away from death, spending a turn healing a unit at 60% HP wastes action economy. Instead, players should let the damaged unit eat one more hit if the incoming damage is survivable, then burst down the threat and heal only after the danger has passed. This "triage heal" approach is how experienced players clear encounters using fewer resources.
| Scenario | Heal Priority | Reasoning |
|---|---|---|
| Boss at 10% HP | Skip heal, finish kill | One more attack ends the fight |
| Two enemies alive | Heal lowest-HP unit | Spread survival, avoid death spiral |
| AoE incoming next turn | Shield or buff instead | Healing gets overwritten by AoE |
| Tank at 40%, adds present | Heal tank | Adds target backline, tank must hold |
| Caster at 25%, ranged safe | Heal caster | Prevent one-shot from off-screen |
Defensive Rotation Templates
A solid defensive rotation cycles buffs, shields, and heals in a predictable order so the support mercenary never runs dry. The template below is what community-tested players use as a baseline for most mid-game encounters.
| Turn | Tank Action | Support Action | DPS Action |
|---|---|---|---|
| 1 | Move to choke point | Cast Defense Up on tank | Target highest-threat enemy |
| 2 | Taunt to hold aggro | Cast Magic Shield on tank | Burn down priority target |
| 3 | Hold position | Regen Aura on frontline | Cleanup remaining adds |
| 4 | Attack if safe, else block | Cure Serious if tank below 50% | Reposition for next pull |
This rotation assumes a balanced four-unit party, but it scales well into larger encounters. The key is that healing is always the last action in any given turn, not the first — because healing a unit who is about to take more damage is wasteful, while healing a unit who has already survived the worst of the incoming round is efficient.
Advanced Defense Strategies and Boss Preparation
Once the basics of armor, status effects, and healing are second nature, the next step is preparing for boss fights where the defensive margin is razor-thin. Bosses in Astonishia Story often have scripted damage spikes, enrage timers, and phase transitions that punish any party that has not pre-staged its defensive layers.
Pre-Boss Buff Stacking
The single most effective defensive trick in the game is to enter a boss room with buffs already applied. Most boss arenas have a grace turn where the enemy does not act, which gives the support mercenary one free round to layer Defense Up, Magic Shield, and Regen before the first hit lands.
| Buff Layer | Effect on Survival | Time to Apply |
|---|---|---|
| Defense Up x3 | +45% mitigation on tank | 1 turn per stack |
| Magic Shield x2 | 100 damage absorbed | 1 turn per stack |
| Regen Aura | 8 HP/turn sustained | 1 turn upfront |
| Taunt on tank | Locks aggro to front | 1 turn |
Stacking all four layers takes roughly five turns in the pre-fight grace window, which means the support unit should be the first to act and the tank should enter the boss room last. This preparation typically doubles the effective HP pool of the tank, which buys the healer enough breathing room to keep up with scripted boss burst phases.
Debuff Cycles on Bosses
Bosses are immune to some debuffs, but most accept at least Attack Down, Slow, and Armor Break rotations. The goal is not to perma-lock the boss but to shave off enough damage and speed to give your party one extra turn of reaction time per phase.
| Debuff | Boss Resistance Threshold | Effective Stacks | Cycle Time |
|---|---|---|---|
| Attack Down | Immune after 3 stacks | 2–3 | Every 2 turns |
| Slow | Resists after 1 stack | 1 | Every 3 turns |
| Armor Break | No resistance | 1–2 | Every 4 turns |
| Blind | Often immune | 0 | Skip |
| Silence | Usually immune | 0 | Skip |
Players who want to specialize their support into a debuff-bot should look for gear that increases debuff duration by one turn, which effectively turns a four-turn debuff cycle into a three-turn cycle and saves one action per boss phase. The Astonishia Story party building guide covers how to build a support-focused mercenary who excels at this role.
Survival Triage for Scripted One-Shots
Some boss abilities are designed to one-shot any unit caught in the wrong position. The defensive answer is not to out-heal the damage but to anticipate which tiles will be targeted and reposition before the scripted attack fires. Most bosses telegraph their big hits with a visual cue on the grid, and players who learn these cues can sidestep the lethal AoE entirely.
| Boss Mechanic | Telegraph | Defensive Response |
|---|---|---|
| Ground slam (frontal cone) | Red highlight on front 2 rows | Move tank behind a pillar |
| Ice storm (3x3 AoE) | Blue runes on 9 tiles | Spread party across grid |
| Summon adds | Boss HP below 50% | Pre-taunt to keep adds off backline |
| Enrage at 25% HP | Boss glows red | Full heal rotation before trigger |
| Magic burst (line) | Yellow line indicator | Shield the targeted unit |
The Astonishia Story defense guide takeaway for boss fights is that positioning and pre-emptive buffing matter more than raw healing throughput. A party that enters a boss room with full buffs, knows the telegraph cues, and cycles debuffs on cooldown will clear encounters that brute-force healing cannot survive.
Frequently Asked Questions
What is the most important defensive stat in Astonishia Story?
Armor mitigation matters most because it reduces every incoming hit by a percentage, which scales better than flat HP increases once enemies hit the late-game damage thresholds. Pairing a high-tier armor with a layered buff rotation on the tank gives the healer enough breathing room to keep up with scripted boss bursts.
How do status effects interact with each other in Astonishia Story?
Buffs and debuffs stack independently and most have a cap of two or three stacks, so layering Defense Up with a Magic Shield on the same unit creates a damage sponge that can absorb a full boss rotation. The trick is applying buffs before the first hit lands, then refreshing them on cooldown rather than waiting until the unit is already at low HP.
Should I prioritize healing spells or healing items?
Healing items win on cost efficiency, but spells win on action economy because they do not consume an inventory slot. The best approach is to stockpile Hi-Potions for boss fights and use Cure Serious for mid-combat emergencies where inventory space is limited, which is the same logic covered in the Astonishia Story consumables guide.
Can debuffs be resisted or dispelled by enemies?
Most bosses resist Silence and Blind, and a few resist Slow after one application, but Attack Down and Armor Break typically land cleanly on every enemy type in the game. Cycling two debuffs on a three- or four-turn rotation gives the tank enough damage reduction to survive burst phases without burning the healer's MP pool.
How do I prepare my party for late-game boss defense?
Pre-buff stacking is the single biggest lever, and entering a boss room with Defense Up, Magic Shield, Regen, and Taunt already on the tank roughly doubles its effective HP pool. Players who combine that prep with proper positional telegraphs and debuff cycling will clear late-game bosses that out-gear the healer-focused parties typically built by new players.