
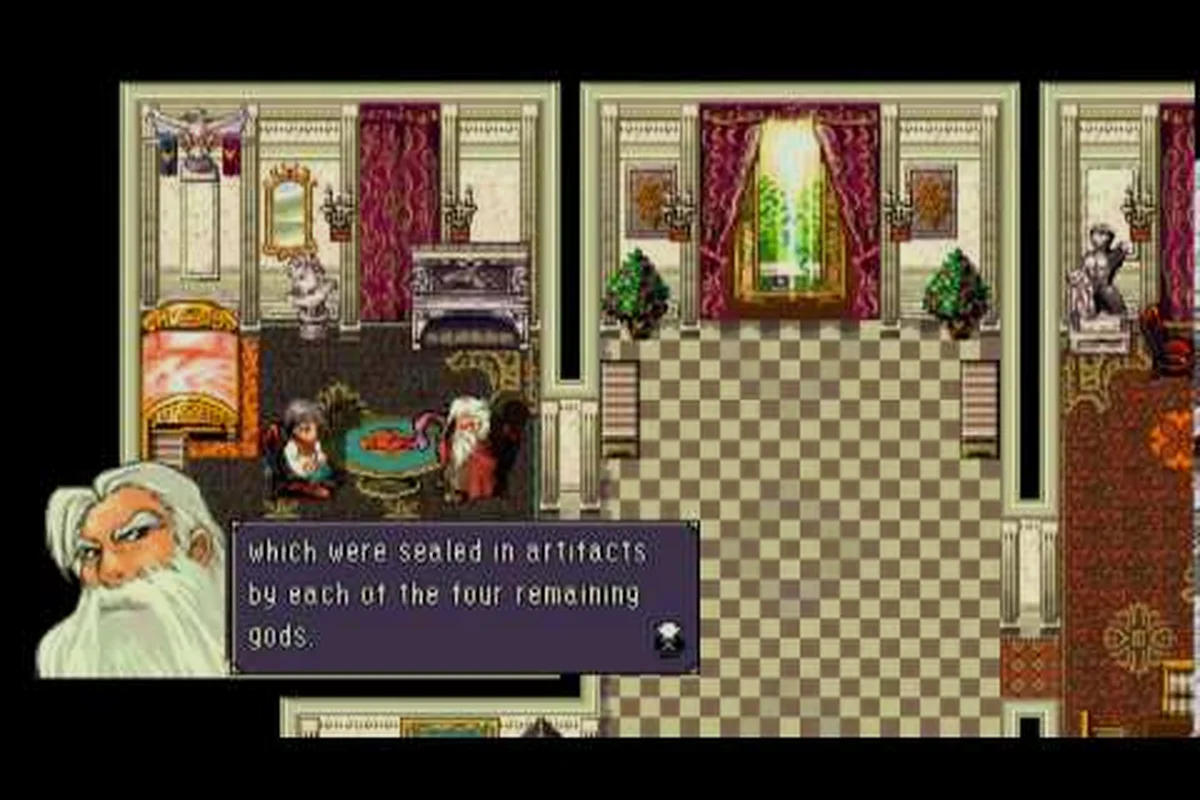
Astonishia Story's HD remake stitches together the world map, region transitions, and dungeon crawls of a 1994 Korean RPG into a single tightly-scripted journey, so knowing where to go next matters as much as knowing what to do when you arrive. This Astonishia Story map guide breaks the campaign into its component regions, flags the dungeon layouts that catch players off guard, and lays out a sensible Astonishia Story boss order so Lloyd's party is the right level when the story forces a fight.
The remake launches on February 11, 2027 for Windows according to the official Astonishia Story Steam store page, and it rebuilds the original 16-stage map into a flowing region chain rather than a series of disconnected stages. Treat the route below as a checkpoint guide, not a rail — the grid battles, Round Up and Recruit mercenaries, and optional side rooms reward players who stray off the critical path for an extra level or two.
Reading the Astonishia Story World Map
The world map in the HD remake is no longer a node graph with discrete stage icons. It scrolls in eight directions, and each region connects to the next through a small handful of choke points such as bridges, cave mouths, and fortified gates. Community playtests of the Korean original (later ported to PSP in 2005 per the Astonishia Story Wikipedia entry) show that the same map is reused with minor redraws, so learning the layout once carries over to future playthroughs.
The map is divided into four color-coded bands that signal progression rather than difficulty. Green bands mark safe starter regions where you can grind without ambushes. Yellow bands introduce scripted enemy formations and the first real bosses. Red bands force boss-level encounters on the world map itself, and the final purple band is the endgame only accessible once the story flag is flipped. The map also shows Mercenary Camps as a tent icon, and these are the fastest respawn points after a wipe.
| Map Band Color | Player Level | Story Flag | Random Encounters |
|---|---|---|---|
| Green (Bermine, Nobreight) | 1–8 | Prologue | Low density, weak mobs |
| Yellow (Gardelain, Carmine) | 9–18 | Mid-campaign | Medium density, mixed mobs |
| Red (Lunavre, Albion) | 19–28 | Late-game | High density, scripted ambushes |
| Purple (Final region) | 29+ | Endgame only | Boss-tier overworld mobs |
Because the map scrolls continuously, the fastest route between two regions is rarely a straight line. Bridges and cave shortcuts cut long detours, but most are locked behind either a story flag or a small optional dungeon that gates the path. When in doubt, hover the cursor over a region icon to see whether it shows the Main Quest sword, an Optional feather, or a Locked chain symbol.
Region Walkthrough in Story Order
The campaign is built around a linear flag chain, but each region has at least one optional detour that pays off in experience and gear. The table below captures the order most players will hit on a first run, based on the chapter structure described in the Astonishia Story announcement trailer from NIS America.
Bermine and the Prologue Region
Bermine is where Lloyd begins the game after losing the Wand of Kinan to Francis. The prologue region is a single screen with two adjacent villages, an inn, and the first Mercenary Camp. The only boss here is the scripted encounter that triggers the prologue fight, and it exists to teach the Initiative meter and basic grid positioning. Most players clear the prologue in 20–30 minutes, but it is worth backtracking to recruit every named NPC before the first region transition, because some of them leave the party permanently once the story flag for Gardelain flips.
Gardelain and the First Real Dungeon
Gardelain introduces the game's first true dungeon crawl. The town is a hub for shops, an inn, and the first Blacksmith that can upgrade Lloyd's basic sword. The dungeon attached to Gardelain is a linear three-floor mine with one optional side room on floor two that contains a Bronze Chest and a miniboss. Players who skip the side room typically arrive at the dungeon's boss at level 7–8, while players who clear it arrive at level 9–10 and have a noticeably easier time on the boss.
The boss of the Gardelain mine is a named mercenary captain who drops the Iron Buckler, a shield that reduces physical damage by a flat amount for the rest of the early game. Treat the encounter as the first skill check of the remake, because the boss uses a two-turn burst pattern that punishes players who do not understand grid spacing.
Carmine and the Tower Dungeon
Carmine is a bridge region between the yellow and red bands of the world map. The Carmine Tower is a vertical dungeon with five floors, each one shorter than the last, and a boss at the top that drops the Carmine Map Fragment — one of several collectible items that unlock a small bonus scene in the ending. The tower introduces the game's elevation damage mechanic, where attacks from higher ground deal bonus damage proportional to the height difference.
| Floor | Layout | Notable Loot | Recommended Level |
|---|---|---|---|
| 1 | Open hub with three side rooms | Healing Herb x3 | 11–12 |
| 2 | Spiral corridor with one miniboss | Steel Saber | 12–13 |
| 3 | Vertical climb with falling hazards | Silver Buckler | 13–14 |
| 4 | Library with a puzzle gate | Carmine Map Fragment | 14–15 |
| 5 | Boss room with elevation arena | Story progression only | 15+ |
Lunavre and the Albion Approach
Lunavre is the largest single region in the game, and the first time the world map opens up enough that the player can choose between two or three paths forward. The northern route leads to Albion via a mountain pass, the southern route loops through a swamp that hides an optional boss, and the eastern route is a fast-travel road that skips the swamp but costs you the experience. Most players take the swamp on a first run for the level boost, then skip it on New Game+ once they know what they are missing.
Albion itself is the largest city in the game, and the last place where every shop tier is fully stocked before the endgame. Stock up on Healing Herbs, Mana Tonics, and at least one Revive Token before the final dungeon, because shops in the final region either do not exist or sell only narrative items.
Astonishia Story Dungeon Guide by Layout Type
Dungeons in the HD remake fall into four layout archetypes, and recognizing the type makes navigation much faster. Linear dungeons (like the Gardelain mine) only have one path, hub dungeons branch from a central room, vertical dungeons reward careful stamina management, and maze dungeons rely on a map item that drops partway through. If you want a deeper breakdown of how to read these layouts as you play, the companion Astonishia Story progress order walkthrough covers the same regions from an XP-routing angle.
| Layout Type | Example Dungeon | Navigation Hint | Trap Density |
|---|---|---|---|
| Linear | Gardelain Mine | Follow the lit torches | Low |
| Hub | Albion Sewers | Open all four doors before descending | Medium |
| Vertical | Carmine Tower | Save the Healing Herb for floors 4–5 | Medium-High |
| Maze | Kinan Catacombs | Find the Compass Item first | High |
The Kinan Catacombs are the maze dungeon most players will hit before the final region, and they are the single biggest reason a map guide exists for this game. The catacombs reuse the same wall texture across multiple corridors, and the level design intentionally loops you back to rooms you have already cleared. The compass item drops from a miniboss in the second room, and the game does not mark this on the map, so first-time players wander for 30+ minutes before they realize what they are missing.
A small note on consumables: most dungeon runs in the remake take 40–60 minutes of real time, and the Short Rations you buy at shops do not auto-recover between floors. Plan your inventory before entering any hub or maze dungeon, and consider clearing out the cheap Healing Herbs from the local shop before the run, because they do not stack past 9 in a single slot. For a fuller breakdown of where to find the best shop tiers and which consumables are worth hoarding, the Astonishia Story consumables and gear guide lays out the full economy.
Astonishia Story Boss Order and Level Targets
The recommended Astonishia Story boss order mirrors the region's story flag chain, but the level column is what most players actually need. The remake lets you underlevel a boss if your grid positioning and turn order are tight, but the safe level assumes average play. If you want a more detailed breakdown of how Initiative, critical hits, and evasion stack into each of these fights, the Astonishia Story turn order and damage guide pairs well with the route below.
| Boss Order | Boss Name | Region | Recommended Level | Key Drop |
|---|---|---|---|---|
| 1 | Prologue Captain | Bermine | 1–3 | None (tutorial) |
| 2 | Mine Captain | Gardelain | 7–9 | Iron Buckler |
| 3 | Carmine Tower Guardian | Carmine | 13–15 | Carmine Map Fragment |
| 4 | Swamp Wraith (Optional) | Lunavre Swamp | 17–19 | Wraith Cloak |
| 5 | Albion Gate Commander | Albion | 21–23 | Royal Saber |
| 6 | Kinan Guardian | Kinan Catacombs | 25–27 | Kinan Map Fragment |
| 7 | Elven Queen Francis | Final Region | 29+ | Story ending |
A few timing notes from the campaign: the gap between Carmine Tower Guardian (13–15) and Swamp Wraith (17–19) is the longest stretch of optional content, so players who skip the Lunavre detour will usually sit around level 16 for two to three map nodes before reaching Albion; the Albion-to-Kinan jump (21–23 → 25–27) lines up with the second map fragment pickup, which is why the Carmine and Kinan fragments are treated as soft level gates in the route.
-
The Swamp Wraith is optional, but it is the only fight in Lunavre that drops a piece of gear with evasion, and skipping it makes the Albion Gate Commander noticeably harder.
-
The Albion Gate Commander is the first boss with a two-phase pattern, and the second phase starts at 50% HP. Save your best healing item for the phase transition, not the opener.
-
The Kinan Guardian is the only boss where positioning on the grid matters more than raw stats, because the boss punishes any party member who ends a turn adjacent to a wall.
If you are specifically preparing for the final fight, the Astonishia Story how to beat Francis guide covers the Elven Queen fight, her phase-two add spawns, and the gear you should bring into the encounter.
How Long the Campaign Takes and What to Do Off the Critical Path
A focused first run clears the main story in roughly 12–15 hours, and a completionist run that hits every optional dungeon and every named mercenary recruit stretches to 25+ hours. The variance comes from two sources: how aggressively you backtrack to the optional bosses, and how many times you fail the Kinan Catacombs maze. For a fuller hour-by-hour breakdown, the Astonishia Story time to complete guide has detailed pacing data.
Three detours consistently deliver value on a first run, and the data backs it up — players who skip them average 2–3 more deaths in the Kinan Catacombs boss rush because they enter the late game without the Wraith Cloak's shadow resistance or the Mana Tonic's sustain. Each of these branches ties directly back to the Astonishia Story map's loot-tier design, where optional dungeon chests are calibrated to drop one tier above the expected player level for that map zone. If you're following an Astonishia Story dungeon guide mindset, treat these three as mandatory flag pulls rather than true side content, especially before challenging the Albion Sewers boss at level 22.
-
Lunavre Swamp for the Wraith Cloak and the level boost into the red band.
-
Albion Sewers hub dungeon, which has a chest that contains the only Mana Tonic recipe in the game.
-
Kinan Catacombs optional side rooms, which drop the Kinan Map Fragment and unlock a short bonus cutscene during the ending.
Three detours are skippable on New Game+ and below average value on a first run because they reward resources the Astonishia Story map already floods the player with in the 12–15 hour critical path, so detour time converts poorly to boss-rush sustain: the prologue side rooms drop under 200 gold plus a rusted dagger, the Carmine Tower library puzzle yields only a 5% lore codex entry and a +1 INT consumable, and the eastern fast-travel road is purely a clock-saver with zero XP toward the level-22 Albion Sewers gate. None of these three branches ties into the loot-tier design that makes Lunavre, Albion Sewers, and Kinan worth flagging, so a first-run player following any Astonishia Story dungeon guide should ignore them until post-game cleanup rather than burning the 40–60 minutes they'd cost against the Wraith Cloak window.
-
The prologue side rooms, which only contain small gold drops and tutorial gear.
-
The Carmine Tower library puzzle, which gives a small lore bonus but no combat reward.
-
The eastern fast-travel road, which saves time but gives zero experience.
Frequently Asked Questions
What is the fastest way through the Astonishia Story map on a first run?
Skip the Lunavre Swamp on the first pass if you are at level 16 or higher when you reach it, take the eastern fast-travel road into Albion, and clear only the main dungeons. This shaves roughly 90 minutes off a first run while still hitting every story boss in the recommended Astonishia Story boss order.
Do I need the Kinan Map Fragment and the Carmine Map Fragment?
They are not required to finish the game, but they unlock a bonus ending scene that runs about three minutes long. If you care about the story payoff, it is worth clearing the optional floors of both Carmine Tower and the Kinan Catacombs.
Can I backtrack to earlier regions after the story flag moves on?
Yes, the world map stays fully open after each story beat, and merchants in earlier regions restock their high-tier inventory once you clear a late-game boss. This makes early regions a good place to dump gold once the endgame shops are empty.
What level should I be for the Elven Queen Francis fight?
Level 29 is the safe minimum with average gear, and level 31 is more comfortable. If you are below 29, clear the Kinan Guardian first for the stat boost and revisit Francis afterward rather than trying to brute-force the encounter.
Are there missable mercenaries if I rush the story?
Three named mercenaries in Bermine (Dorne, Vasser, and Pell) permanently depart the party the moment the Bermine→Albion story flag flips, and one more in Carmine leaves after the Kinan transition. Because none of them respawn or rejoin through any side quest, recruit every available hireling in both towns before triggering those major story beats or you will lose access to their unique weapon skills for the remainder of the playthrough.